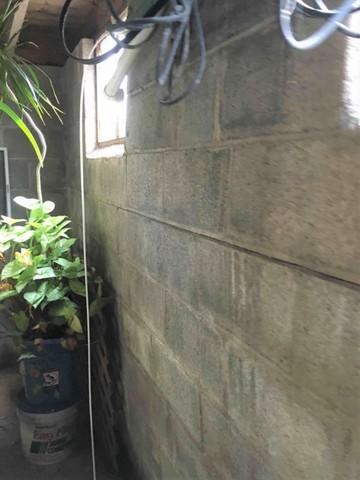
Bowed Basement Wall
The bowing of this wall started to create a seam down the middle and was becoming very risky.

Droopy Block Wall
The gradual bowing was hidden by storage items, and it was luckily caught before severe cracking or collapse.

Pushing Wall Back
The bracketed supports are also able to be adjusted which helps to push the block wall back into place.
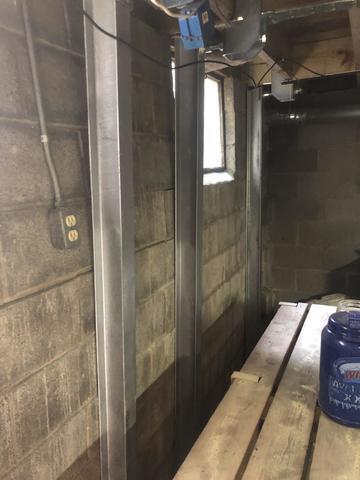
Stabilizing Basement Wall
Our steel beams were bolted to the floor and ceiling to stop and stabilize the pressurized wall.
