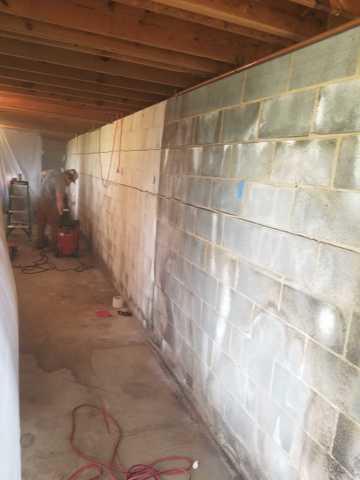
Bowed Out Block Wall
The state of this wall was getting serious. The mortar joints were completely busted along the middle and the block had begun to turn over.
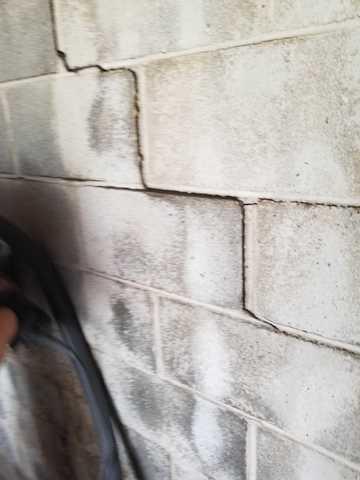
Additional Wall Cracking
This block wall had also formed stair step cracks along certain parts, which compounds the risks involved.
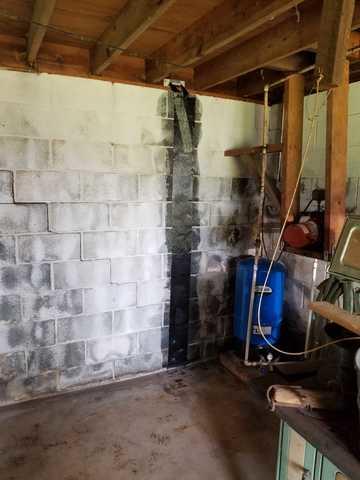
Installed CarbonArmor Strip
To start supporting the wall from potential collapse we installed strips along the entire wall.
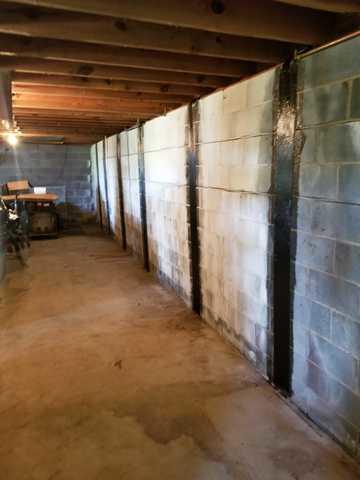
Holding Back Bowed Wall
With the pressure coming inward against the back of the wall these strips will help the block resist the stress and hold in place.
