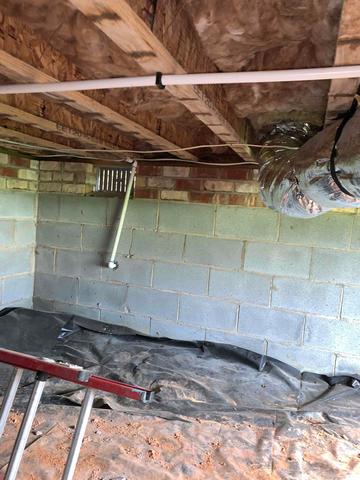
Vented Crawl Space
Ventilation throughout this crawl space made the air inside dependent upon the weather outside.
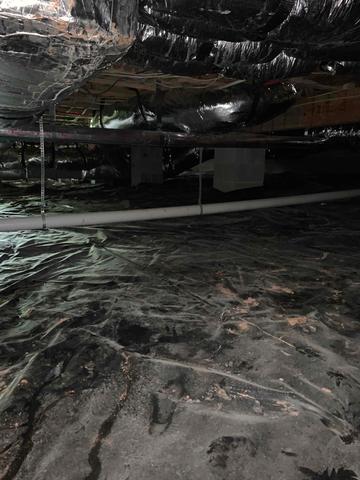
Black Plastic Barrier
A cheap, thin layer of plastic was laid down and quickly ripped and let water and dirt through.
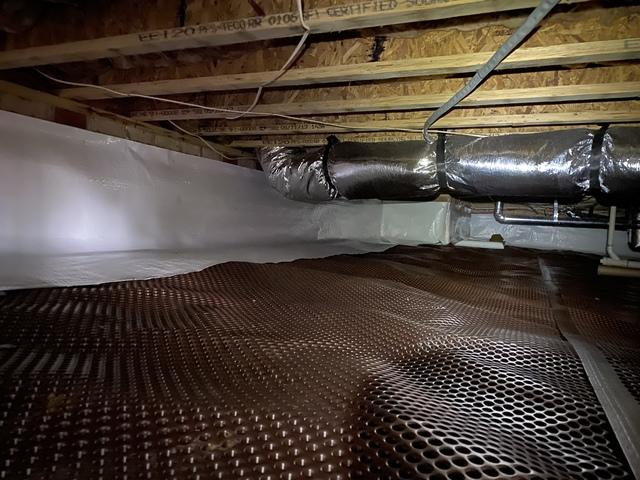
Drainage Matting
We installed our drainage matting under our CleanSpace barrier to keep water out and moving into our waterproofing system.
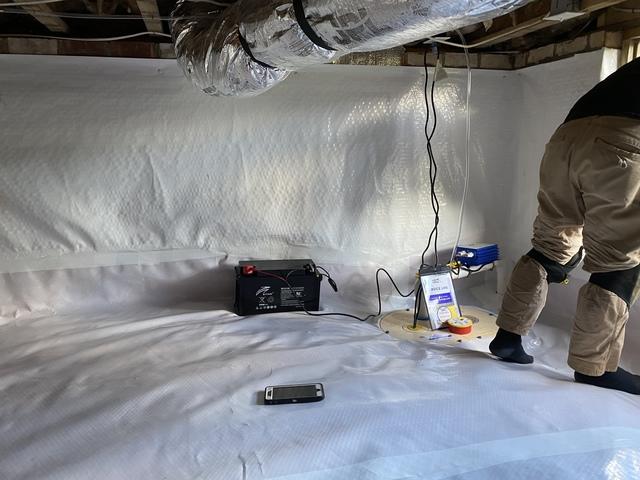
Fully Encapsulated Crawl Space
With an interior waterproofing system and a sealed vapor barrier, the crawl space was ready to be managed by itself.

Dehumidifying Air System
Fully encapsulated, we installed our dehumidifier to maintain the humidity inside the crawl space.
